Reprocessed Images
Astrophotography, in my experience, is one of those things where the quality of the results is often proportional to the expense. And by “expense,” I mean in both time and money, neither of which I have in abundance.
Good quality equipment and software is a Must Have for producing good results. Good telescopes, mounts, and cameras ain’t cheap. Add to those items all of the accessories–filters, guide scopes and cameras, computers, cables and adapters, etc.–and a decent astroimaging rig can easily cost thousands of dollars. I’ve built up my equipment inventory little-by-little over the past 15 or so years, but I don’t consider it to be top-notch or even good, by any means.
Sometimes I’m happy with the images I get, but more often I’m not. Occasionally, though, I come across a new tool that makes a difference in the results. So, I like to go back to old images and reprocess them to see if I can improve the quality–tease out the fainter details, fix noise and star distortions, balance the colors, and so forth.
Siril is a free, open-source image processing tool for astrophotography. It can be used for both preprocessing (calibration and stacking) and processing (stretching, color balancing, denoising, etc.) of images. It integrates with other applications that simplify and enhance processing. Also, did I mention that it’s free? Oh yeah, I guess I did. That’s an important attribute of Siril.
Siril has great documentation, and there are a lot of tutorials on YouTube. I’m still learning how to use it–there is a lot to learn–but so far, I am impressed with what it can do. And along the way I’ve discovered some things that I can do to improve the results of future astroimaging sessions.
I’ve already talked too much, so let’s get to the images. I’m not 100% happy with them, but I do think they are better than their original versions. All of these were processed in Siril, with touch-ups in GIMP and/or Photoshop, from the original stacked images. The image data for each set was acquired using a Canon EOS Rebel T3 DSLR camera.
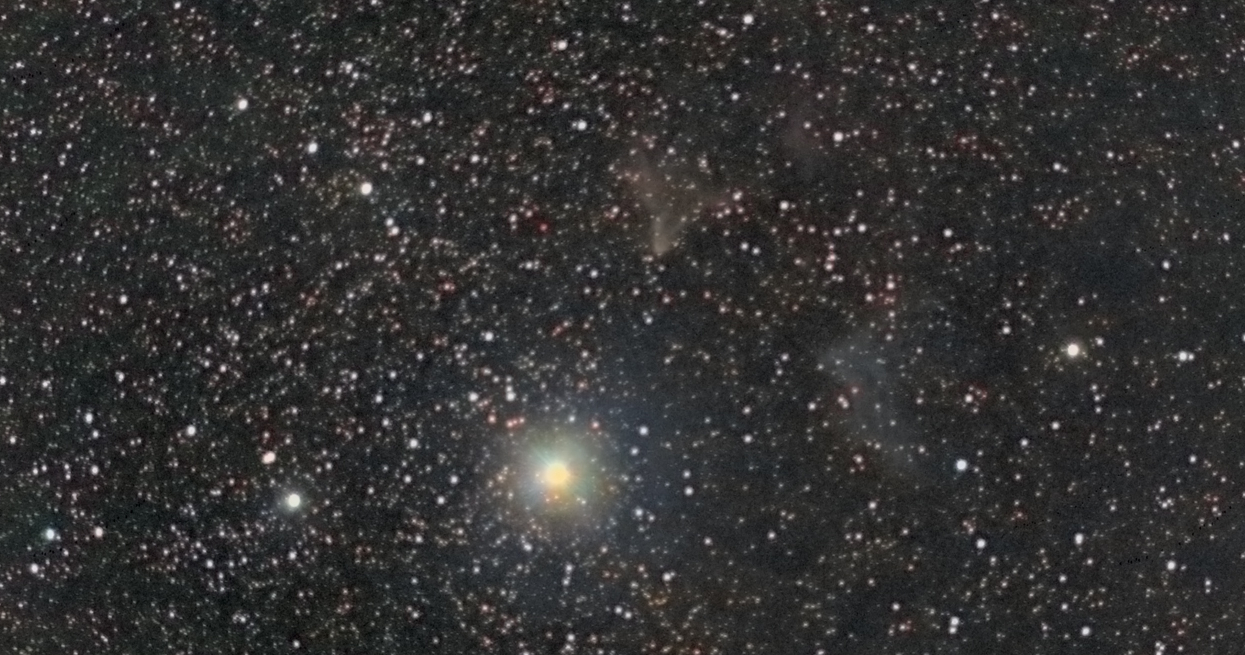
First up is part of the Sadr Region in the constellation Cygnus. I captured the images with the ShortTube 80 telescope on the Vixen SP mount. For comparison, the original version of the image is discussed in Butterfly Nebula, on the old blog.
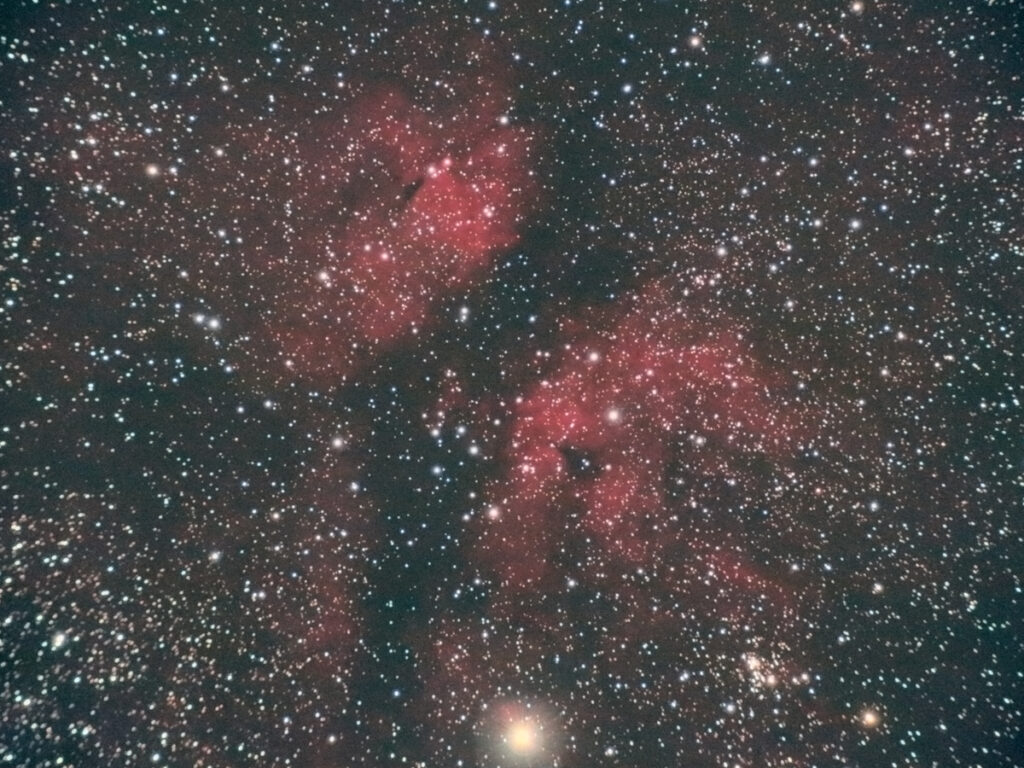
A couple prominent features of the image are the distorted stars near the corners and the fuzzy halos around the brightest stars. The ShortTube 80 is an achromatic refractor that is intended for visual astronomy, not astrophotography. As a result, chromatic aberration creates purple halos around some of the stars. I used the purple defringing tool in the Camera Raw filter in Photoshop to desaturate the purpleness. The downside is that it makes the stars look…fluffy.
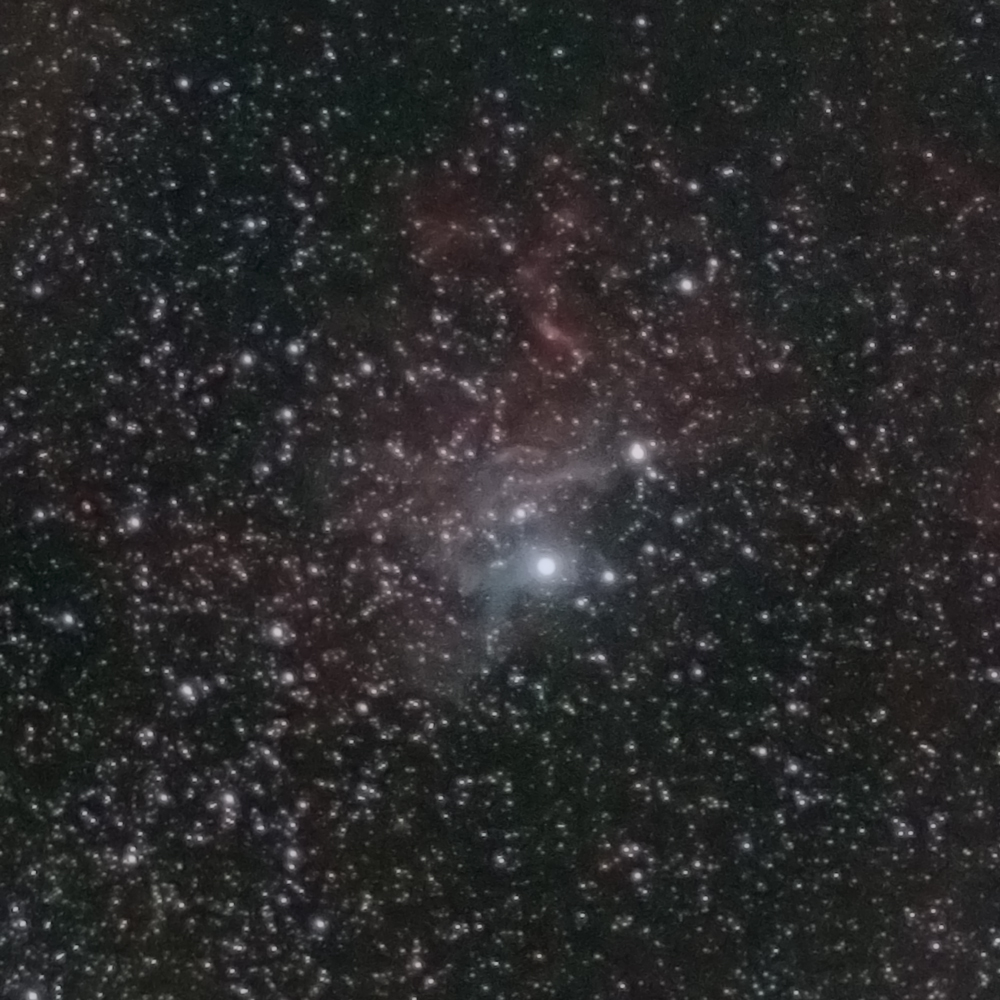
Next is another old image that I struggled with terribly in post processing. It is the Flaming Star Nebula in Auriga. As I mentioned in the original post, I was not at all happy with the results. But this version is at least an improvement. It was also produced using the ShortTube 80 on the Vixen SP mount.
The original image of the Gamma Cassiopeiae nebula is what broke me. Despite spending hours trying to tease out the details of the nebula, I never could get past the cartoonish quality of the final image. The chromatic aberration of the ShortTube 80 was too much. Because of this, I made the decision to purchase the AT72EDII. Between Siril and Photoshop, though, I think this is a respectable rendition considering the limitations of the equipment:
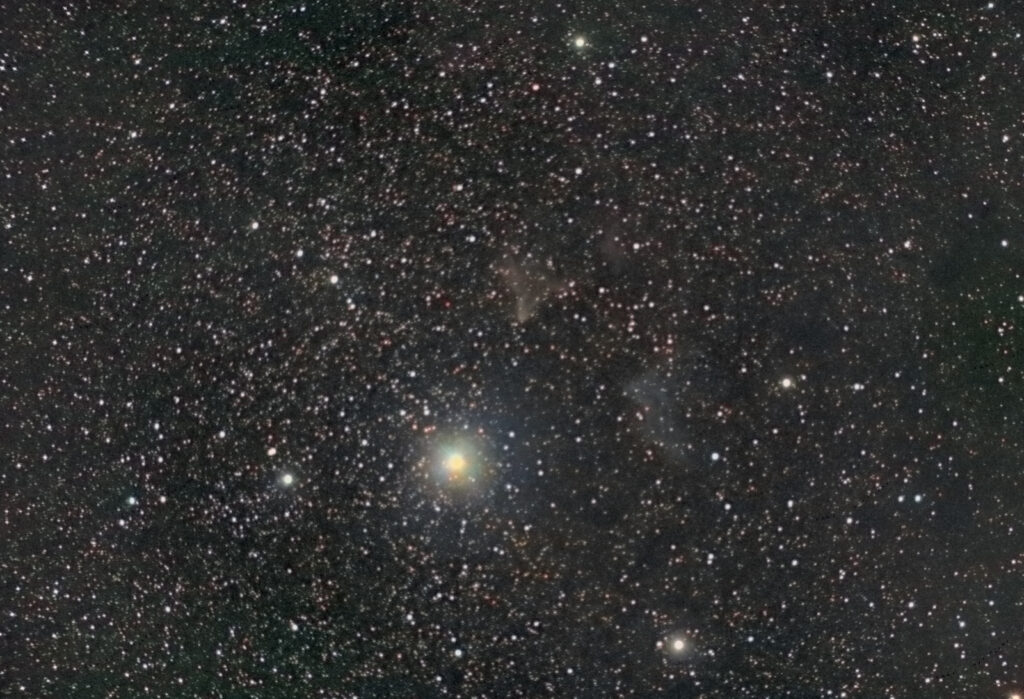
The AT72EDII telescope greatly improved the quality of the images I had to work with, but they are not without their own problems. One issue I have not yet solved is flattening the field. Without getting into the technical details, the lenses create distortions that smear the images of the stars along the outside edges of the field of view. I have a corrective lens that is supposed to fix that, but it is not totally effective.
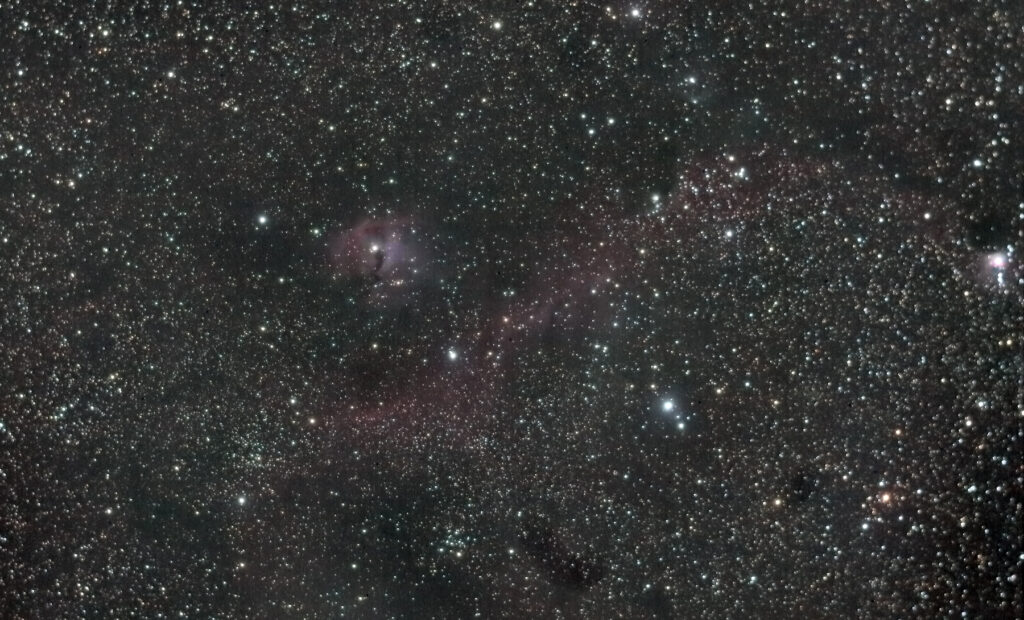
I never published this image of the Seagull Nebula because my attempts to bring out the faint nebula from the rich starfield just produced a lot of background “noise” and accentuated the distorted stars. The distortion in the following image is still apparent, but not nearly so much as original image that never made it to public view:
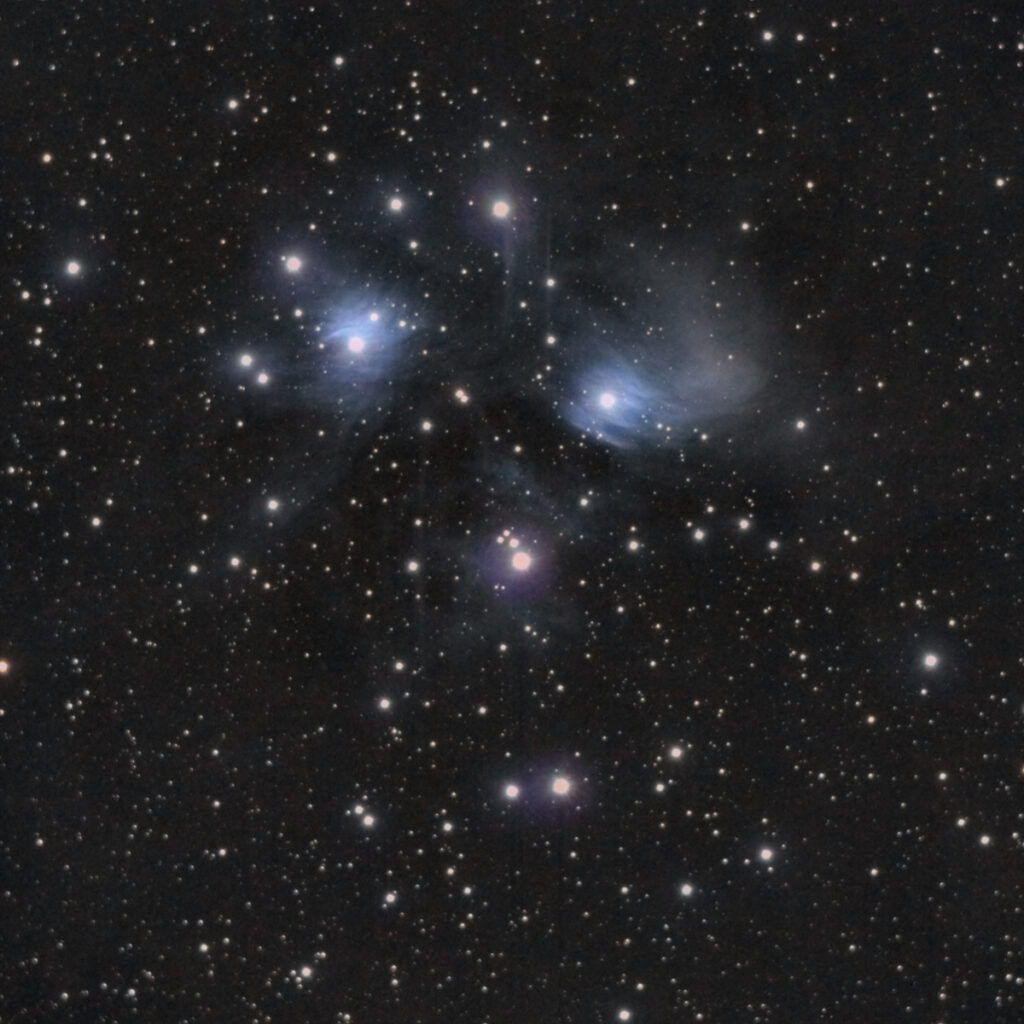
And, finally, I was fairly satisfied with my original image of Messier 45, the Pleiades, that I captured with the AT72EDII. Still, it was difficult to remove the background gradient caused by the relatively bright sky that night. At that time, I did not have a light pollution filter that was compatible with the new rig. Despite that, I think this reprocess looks a little better:
That’s it for now. I have a new telescope on order that should be here by sometime in March. It’s a smaller scope that is designed for quick setup and easy use. I’ll post more about it when I receive it and can take some images.
Leave a Reply