Spaced Out
March 24, 2022 – March 27, 2022
This is a long post with a lot of technical gobbledygook. If you just want to look at the pictures, then scroll to the bottom.
I mentioned in my previous post that I thought that my camera is not sitting at the proper distance from the focal reducer. The spacers arrived a few days ago, and so I did some experiments to see if I could get the correct spacing, and thus better images.
In case this doesn’t make any sense, I will try to explain… The lenses of the telescope focus light at the focal point. The distance from the lens to the focal point is called the focal length. My Astro-Tech AT72EDII refractor telescope has a focal length of 430mm. The aperture of the scope (width of the objective lenses at the front) is 72mm. You take the focal length and divide it by the aperture to determine a telescope’s focal ratio, sometimes called an f-ratio or f-number:
focal length (mm) / aperture (mm) = f-ratio
430mm / 72mm = f/5.97
Focal ratios are listed with “f/” followed by the ratio.
The f-ratio is an important number to know in photography. In astrophotography we often refer to a telescope’s f-ratio as its “speed.” A faster speed (lower f-ratio) means a brighter image with a wider field of view (FOV). A lower speed (higher f-ratio) means a dimmer view with a narrower FOV. Fast scopes are great for viewing and taking pictures of large objects, and slower scopes are best for things like planets, the Moon, and capturing close-up details in some nebulae and galaxies.
One other side-effect of a faster telescope is that it takes less time to gather enough light to make a decent image of an object, especially nebulae and galaxies. This is helpful if the telescope mount is unable to accurately track against the rotation of the Earth for long periods of time. Tracking mounts, such as my Sky-Watcher EQ6-R Pro, operate like clocks. They are lined up to be parallel with the Earth’s axis and turn at the same rate that the Earth spins, only in the opposite direction. This means that if the telescope is pointed at a target in the sky, it will “follow” that target across the sky as Earth rotates.
Now, I explained all of the above to explain why I purchased a focal reducer. A focal reducer is a special lens that reduces (makes faster) the f-ratio of the scope. I wanted a faster f-ratio because my old mount could not accurately track objects for long periods of time. A faster f-ratio produces a brighter image, so I could capture more detail in less time.
A focal reducer works by reducing the scope’s focal length. The particular focal reducer I have is an Astro-Tech ATR8. It reduces the focal length to 80% of its original value:
430mm * 0.8 = 344mm
This changes the f-ratio:
344mm / 72mm = f/4.8
Another job that this focal reducer is supposed to do is “flatten” the image. Stars are so far away that they are essentially all at the same focal plane (infinite), which means that if you focus on one star, then they are all in focus regardless of the differences in their individual distances. Lenses are curved, though, and create an effect called field curvature, where star light that travels through the outer portions of a lens is distorted by the curve of the lens. This produces an effect called comatic aberration, typically refered to as coma. Images of stars affected by coma are stretched out. Flattening an image means taking the light that has passed through a lens and bending it so that the image is “flat” again, as it was before it passed through the lens.
In order for a focal reducer to work properly, a camera must be placed at a specific distance from the focal reducer’s lens. According to the documentation for my ATR8 focal reducer, that space is 55mm. The Canon EOS Rebel T3 camera documentation states that the sensor chip in the camera is located 44mm from the mounting flange on the front of the camera. The T-ring adapter that I use to connect the camera to the focal reducer is 9.8mm thick. 44 + 9.8 is only 53.8, so I need to add 1.2mm to the spacing to get the proper focus in the camera.
On the night of March 24, 2022, I set up the rig in the driveway and then I tried adding 1mm, and then 2mm to the spacing, but saw no difference in the image quality. At worst, I would have expected 54.8mm to produce slight coma as illustrated above, and 55.8mm to produce a coma effect where the stars would have a slightly different shape. Both spacing experiments produced the same effect.
So, why didn’t the spacers work to help the focal reducer to flatten the image?
I don’t know. Maybe I’ve miscalculated the spacing somehow. Perhaps adding more spacers will fix the issue? Maybe the focal reducer isn’t a good match for my telescope. I decided that I needed to try some more experiments on a different night.
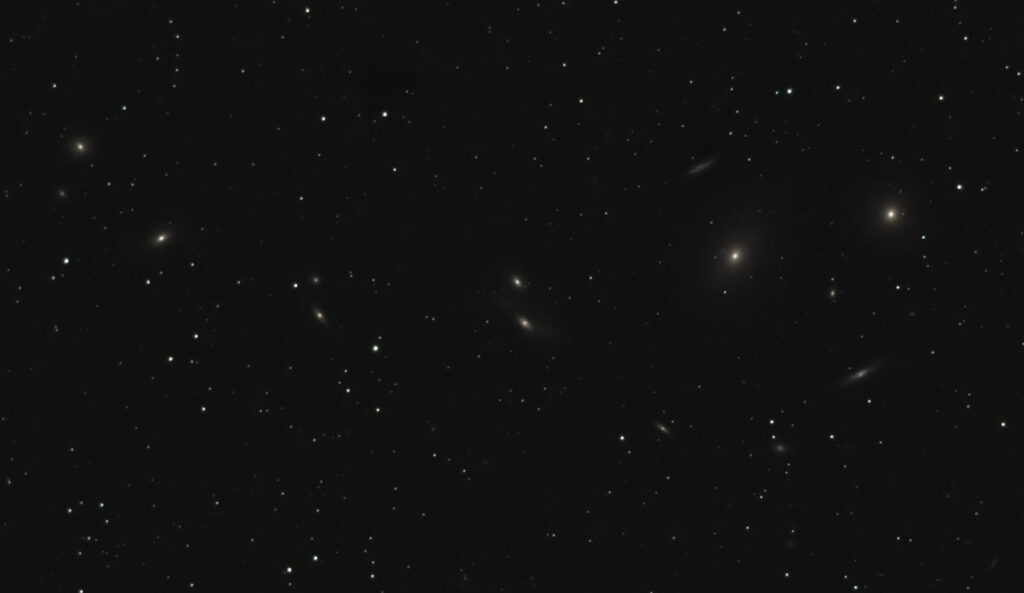
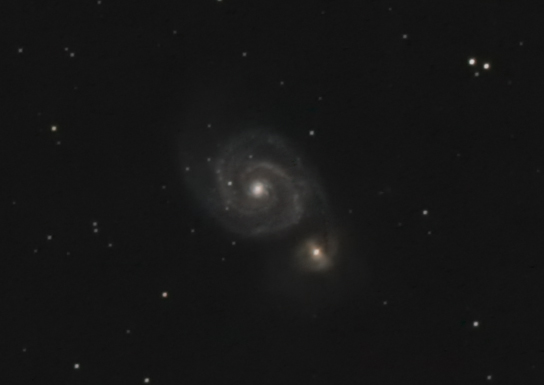
But my March 24th imaging session was not a total loss. Even though I was set up in my front yard in my light polluted neighborhood, using a camera that is probably improperly spaced from the focal reducer, I think I got my best results so far for Messier 51 (the Whirlpool Galaxy) and Markarian’s Chain.
Markarian’s Chain is a line of galaxies located in the Virgo Cluster. They are named for astronomer Benjamin Markarian, who discovered that they are moving together.
I took the rig out to the SHSU Observatory the night of March 26/27 to further test the spacing and take advantage of the darker sky. I also tested out a QHY PoleMaster polar alignment camera, which worked brilliantly.
My objective was to try adding 3mm of spacers (56.8mm, if my math is correct), and also test the correct spacing by adding 1.2mm (for a total of 55mm). After focusing, both tests produced the same results. I have concluded that either I have no idea what I am doing, or the ATR8 is simply not a perfect match for the AT72EDII.
So, I settled in to try to capture some images of a few interesting objects. Sadly, smoke from a nearby forest fire started rolling in thickly, obscuring everything below 30 degrees in the north, and nearly as high in all other directions. Zenith didn’t look quite so bad, though, and Messier 44, the Beehive Cluster, was directly overhead.
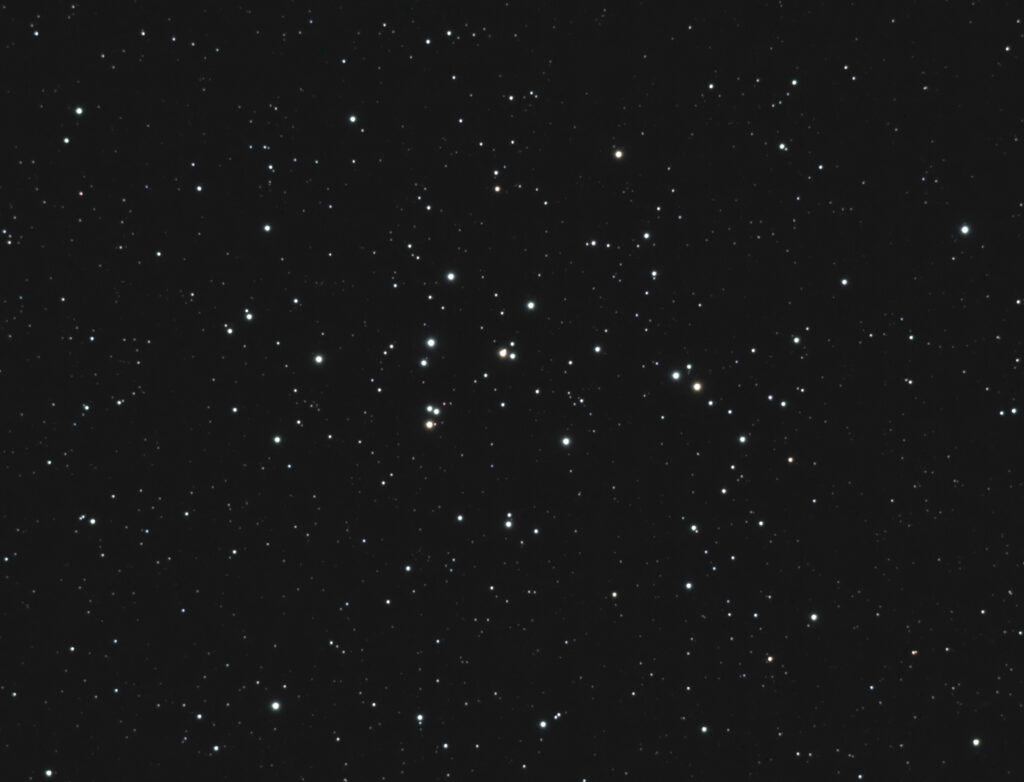
I thought M44 turned out pretty well despite the smoke, so decided to go after something a little more ambitious, the Messier 96 Group in Leo:
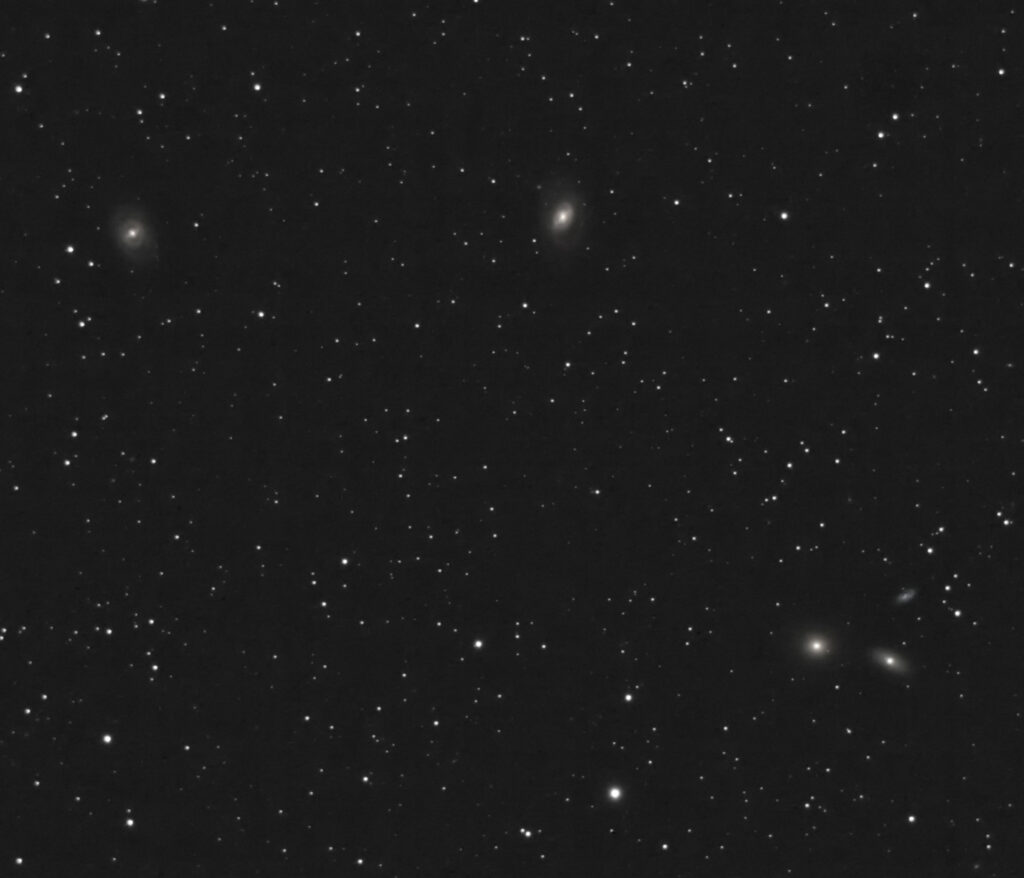
Messier 95, a barred spiral galaxy, is located in the upper-left of the image. Messier 96, an intermediate spiral galaxy, is at the top-center. The smallest of the three galaxies in the lower-right is NGC 3389. Below it is NGC 3384, and the galaxy on the left side of the triplet is elliptical galaxy Messier 105.
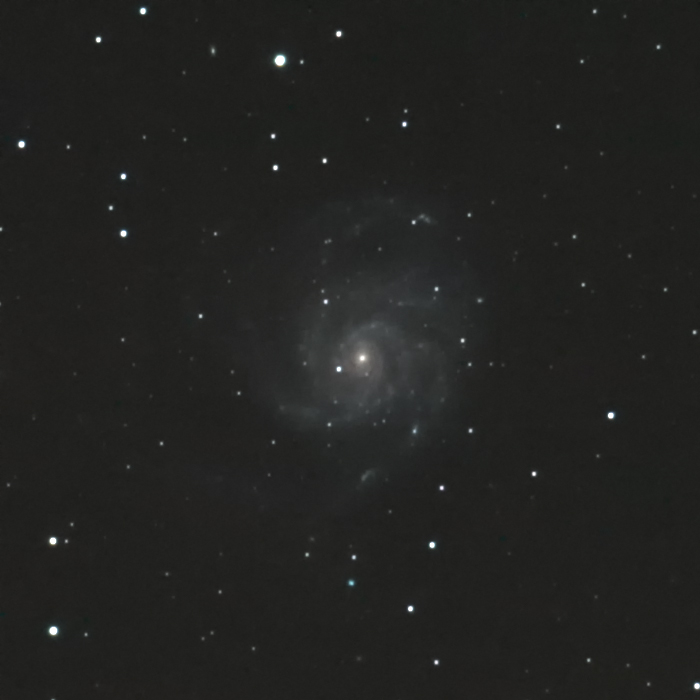
Earlier in the evening I had tried a few test shots of spiral galaxy Messier 101, the Pinwheel Galaxy, in Ursa Major. The smoke was pretty thick in that area, and the galaxy barely showed in the images. After finishing an imaging run on the Messier 96 Group, though, the sky had cleared a bit, and M101 had risen up out of the haze somewhat.
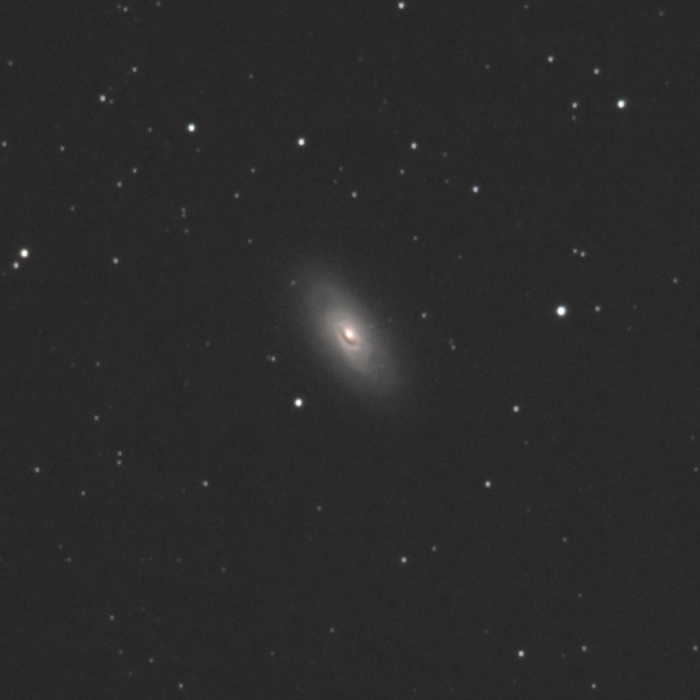
Encouraged that the scope and camera could capture the Messier 96 Group and Messier 101 as well as they did, I decided to end the night with a target that I’ve wanted to revisit for quite some time, Messier 64, the Black Eye Galaxy.
I think I am done with experimenting with spacing for the near future. My next task is to work on autoguiding. Now that polar alignment is no longer an issue, I think the guide scope will work better than in my previous attempts.


Leave a Reply