Dwarf 3
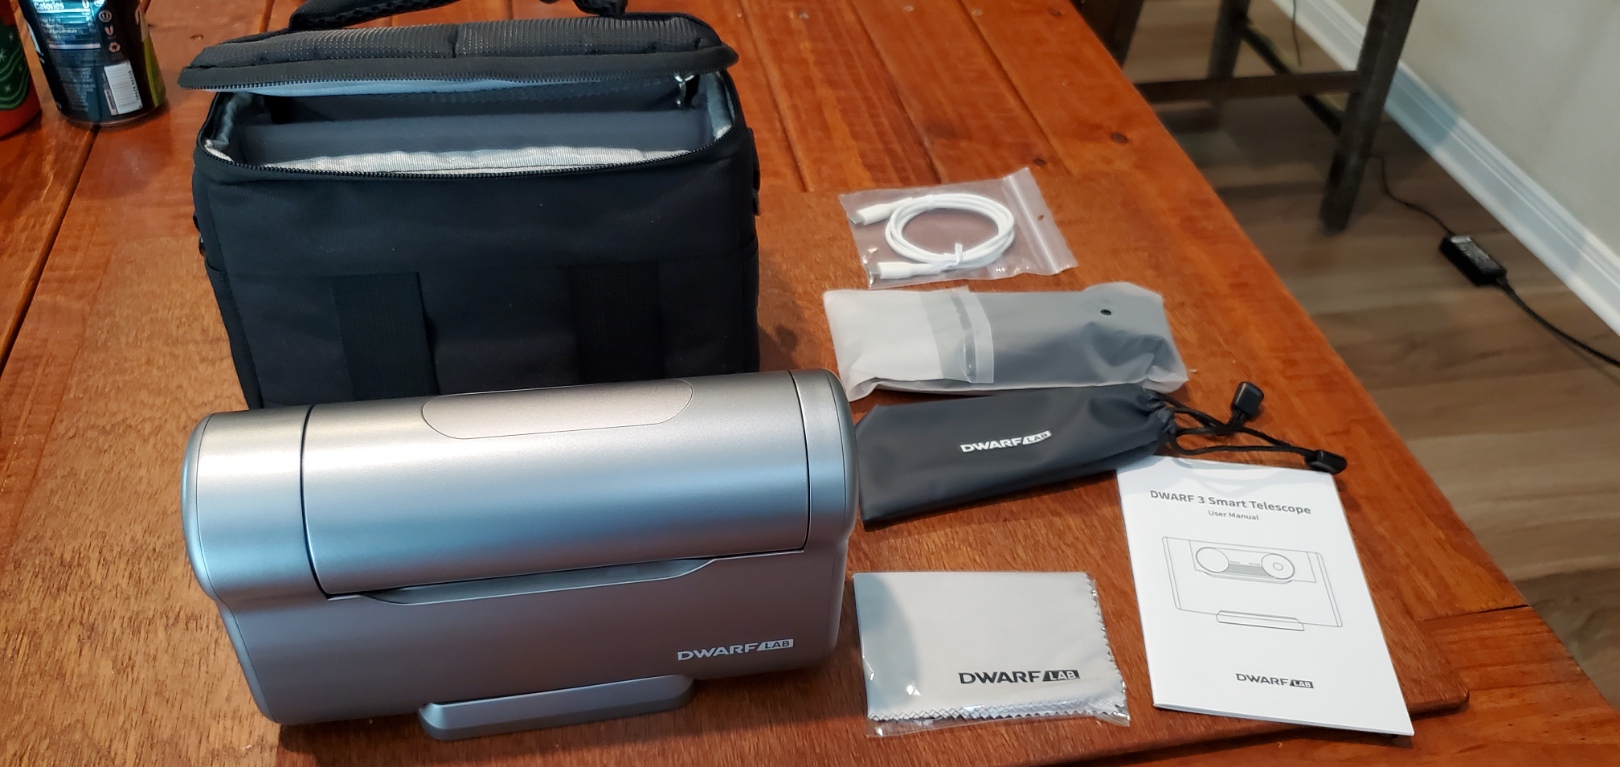
I got a new toy! It’s a Dwarf 3 smart telescope by DWARFLAB.
I’ve been going through a long dry spell with the hobby. Some of the reasons have been time constraints and lack of energy. Setting up my rig for astroimaging takes a long time and a lot of effort, and once it is going (if it works at all) I usually only have a short time to do imaging before I have to take it all down and bring it inside. Plus, when I’m not imaging at home, lugging 100+ lbs. of equipment to the observatory and other dark sites is no fun.
I’ve had my eye on smart telescopes for a while, but was not ready to invest a huge sum of money into something that I couldn’t guarantee would produce decent results. I’d have rather spent more money on my current rig with the knowledge that its performance would be improved despite the inconvenience of its use.
Then along came the Dwarf 3 and rave reviews from the astronomy community. Its price point seemed reasonable, so I put one on order back in December 2024. It arrived on April 1, 2025, and in keeping with the tradition of there being bad weather after receiving new astronomical equipment, the weather proceeded to be cloudy and rainy for an entire week.
But then we had an entire week of clear skies–except for a couple of nights of smoke from some nearby forest fires or prescribed burns–and I set about learning what this little scope could do.
And boy, does it do!
For those of you who may not be familiar with what a “smart” telescope is, it is basically a computer-controlled all-in-one viewing and imaging platform that handles most of the tedious tasks of setting up and operating the scope and camera.
The Dwarf 3, pictured above, doesn’t look like a traditional telescope. In fact, I would describe it as a fancy camera. There are two lenses, one telephoto and the other wide-angle, that direct light to a low-noise imaging sensor. It includes two built-in filters: a narrow-band filter for imaging nebulae, and a light pollution filter for everything else. It also comes with a separate solar filter that attaches to the lenses using magnets. Other accessories include a nice carrying bag, a strap for the bag, and a USB cable. The whole thing, including the bag, is about the size of a small lunch kit. The scope itself weighs about 3 lbs. All you need to provide is a camera tripod with sufficient weight capacity, and a USB charger to recharge the scope’s lithium battery, which appears to last about six hours on a full charge.
The Dwarf 3 is controlled from an Android or Apple phone or tablet. It can act as a wi-fi hotspot for connecting to the control device, or it can connect to an external wi-fi hotspot shared by the controller. More on this later…
There are multiple imaging modes. It can be a landscape camera for daytime or nighttime photography (e.g., photographing the Milky Way), record video, record timelapses, and, of course, do astrophotography. It also has a nifty tracking feature that can follow a selected object while it moves across the scene (think, following wildlife while it moves about…wildly).
But one of the most incredible features of this small scope is that it can perform equatorial tracking. This means that you can take long exposures to capture faint details without experiencing field rotation. In the northern hemisphere, simply point the body of the scope towards Polaris at the same angle as your latitude–don’t worry if you don’t know your latitude because it will tell you–and follow the setup prompts in the app. The scope will take pictures of the sky to figure out where it is pointing and how accurately it is aligned. If all is within a certain tolerance, then you are good to go. If not, the app will tell you what to do to fix it!
It is even easier to take pictures of the Sun and Moon because they do not require equatorial tracking to get good results. So, my first attempt at imaging with the Dwarf 3 was during my lunch break on Monday, April 7th. I set up the scope on the deck, punched a few buttons in the app, and voila! I had a nice “white-light” picture of the Sun!
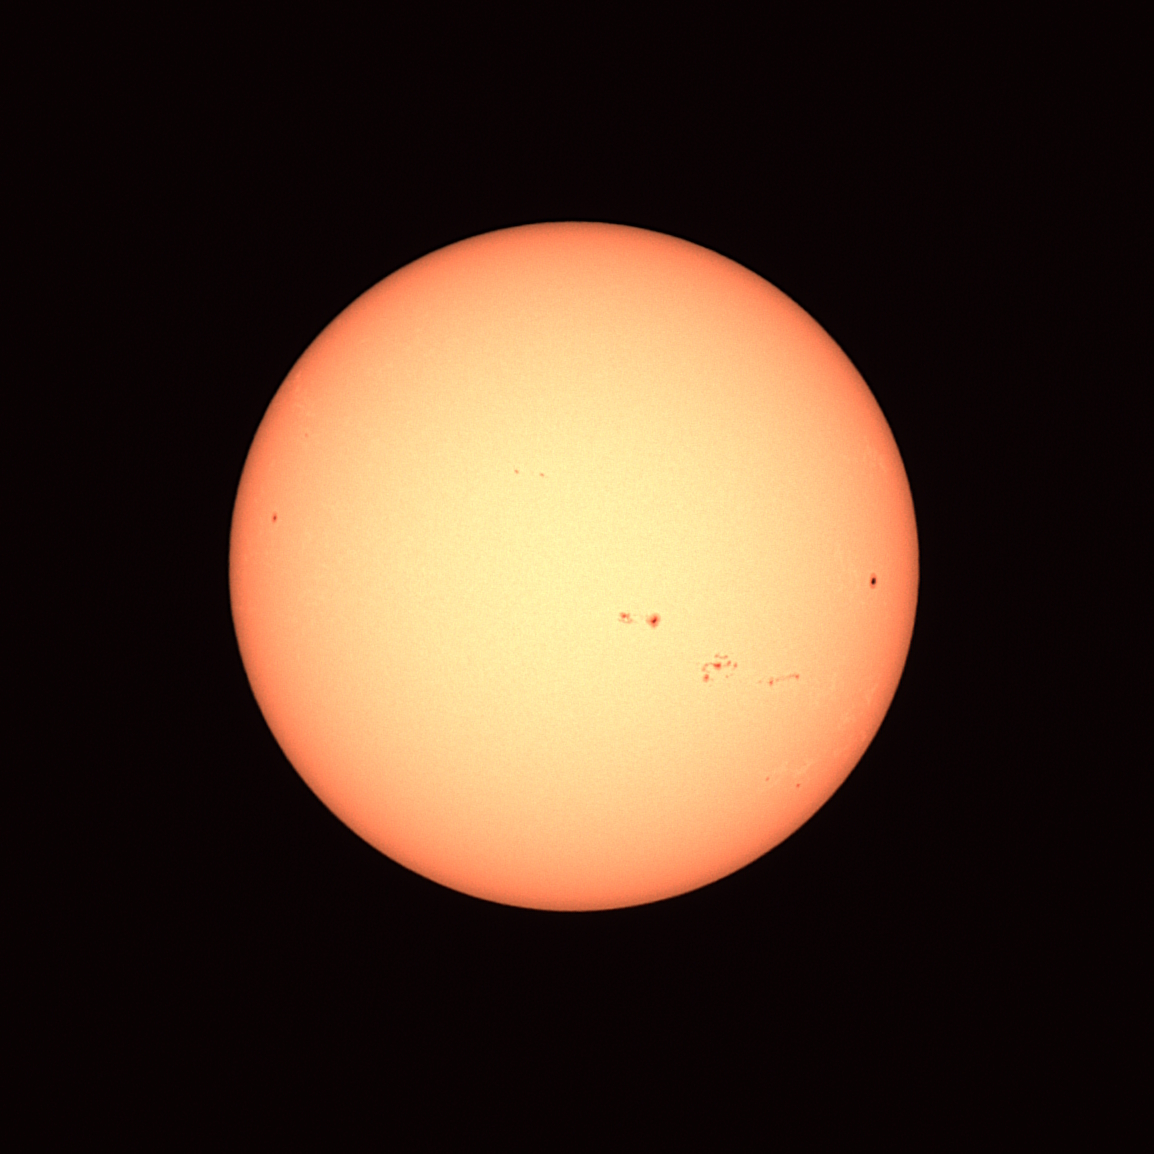
The sunspots are clearly visible, and if you look closely, you can also see the surface granulation. That image took less than five minutes to produce, and that included the time it took to set up the tripod, connect to the scope via the app, and start the imaging sequence.
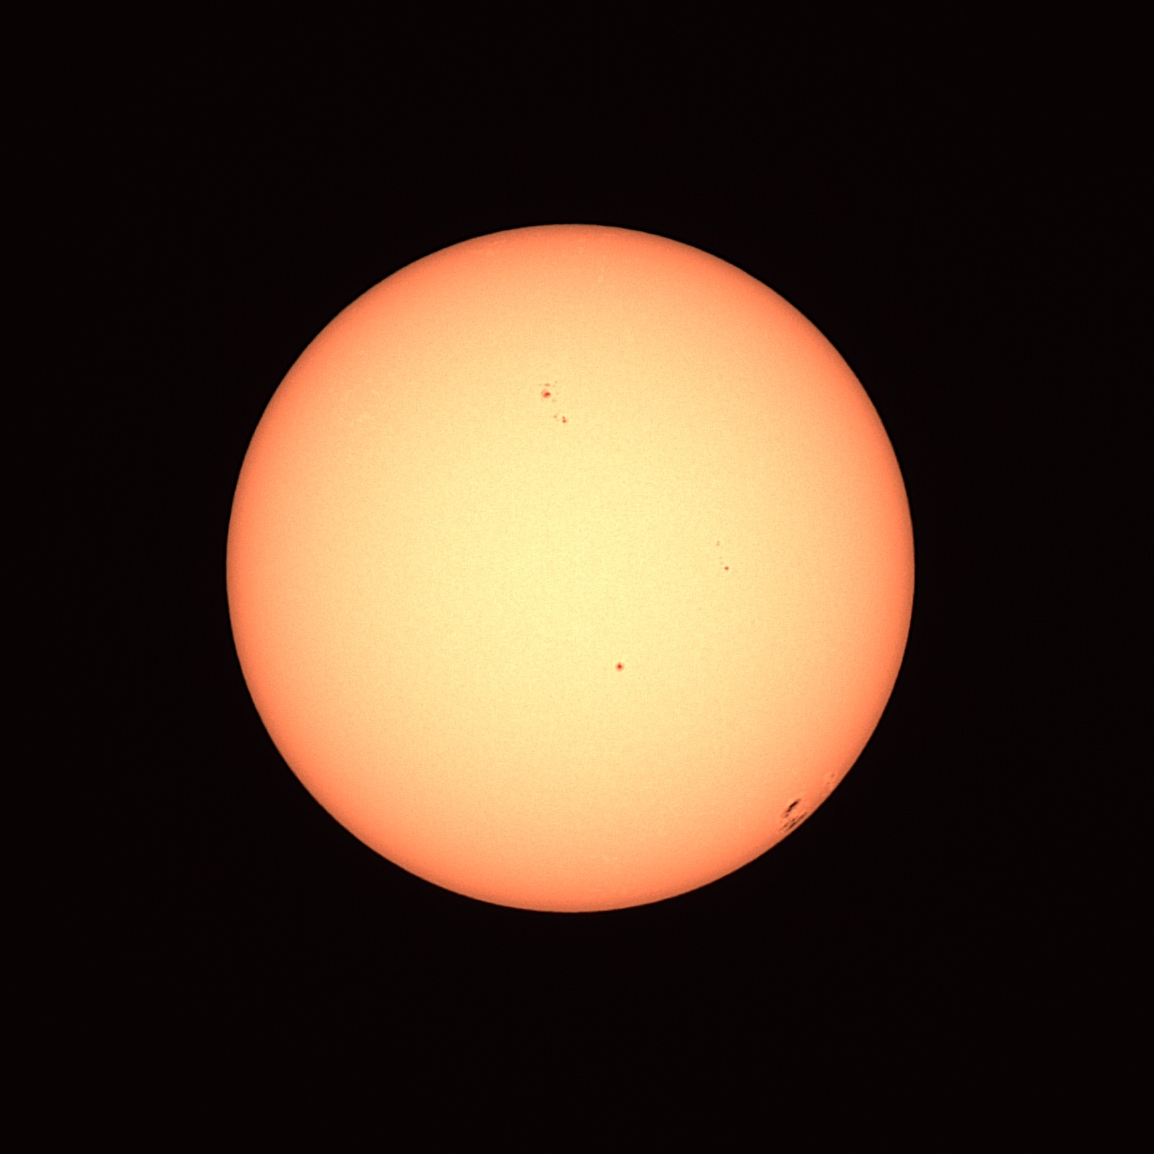
I took another image of the sun about a week later:
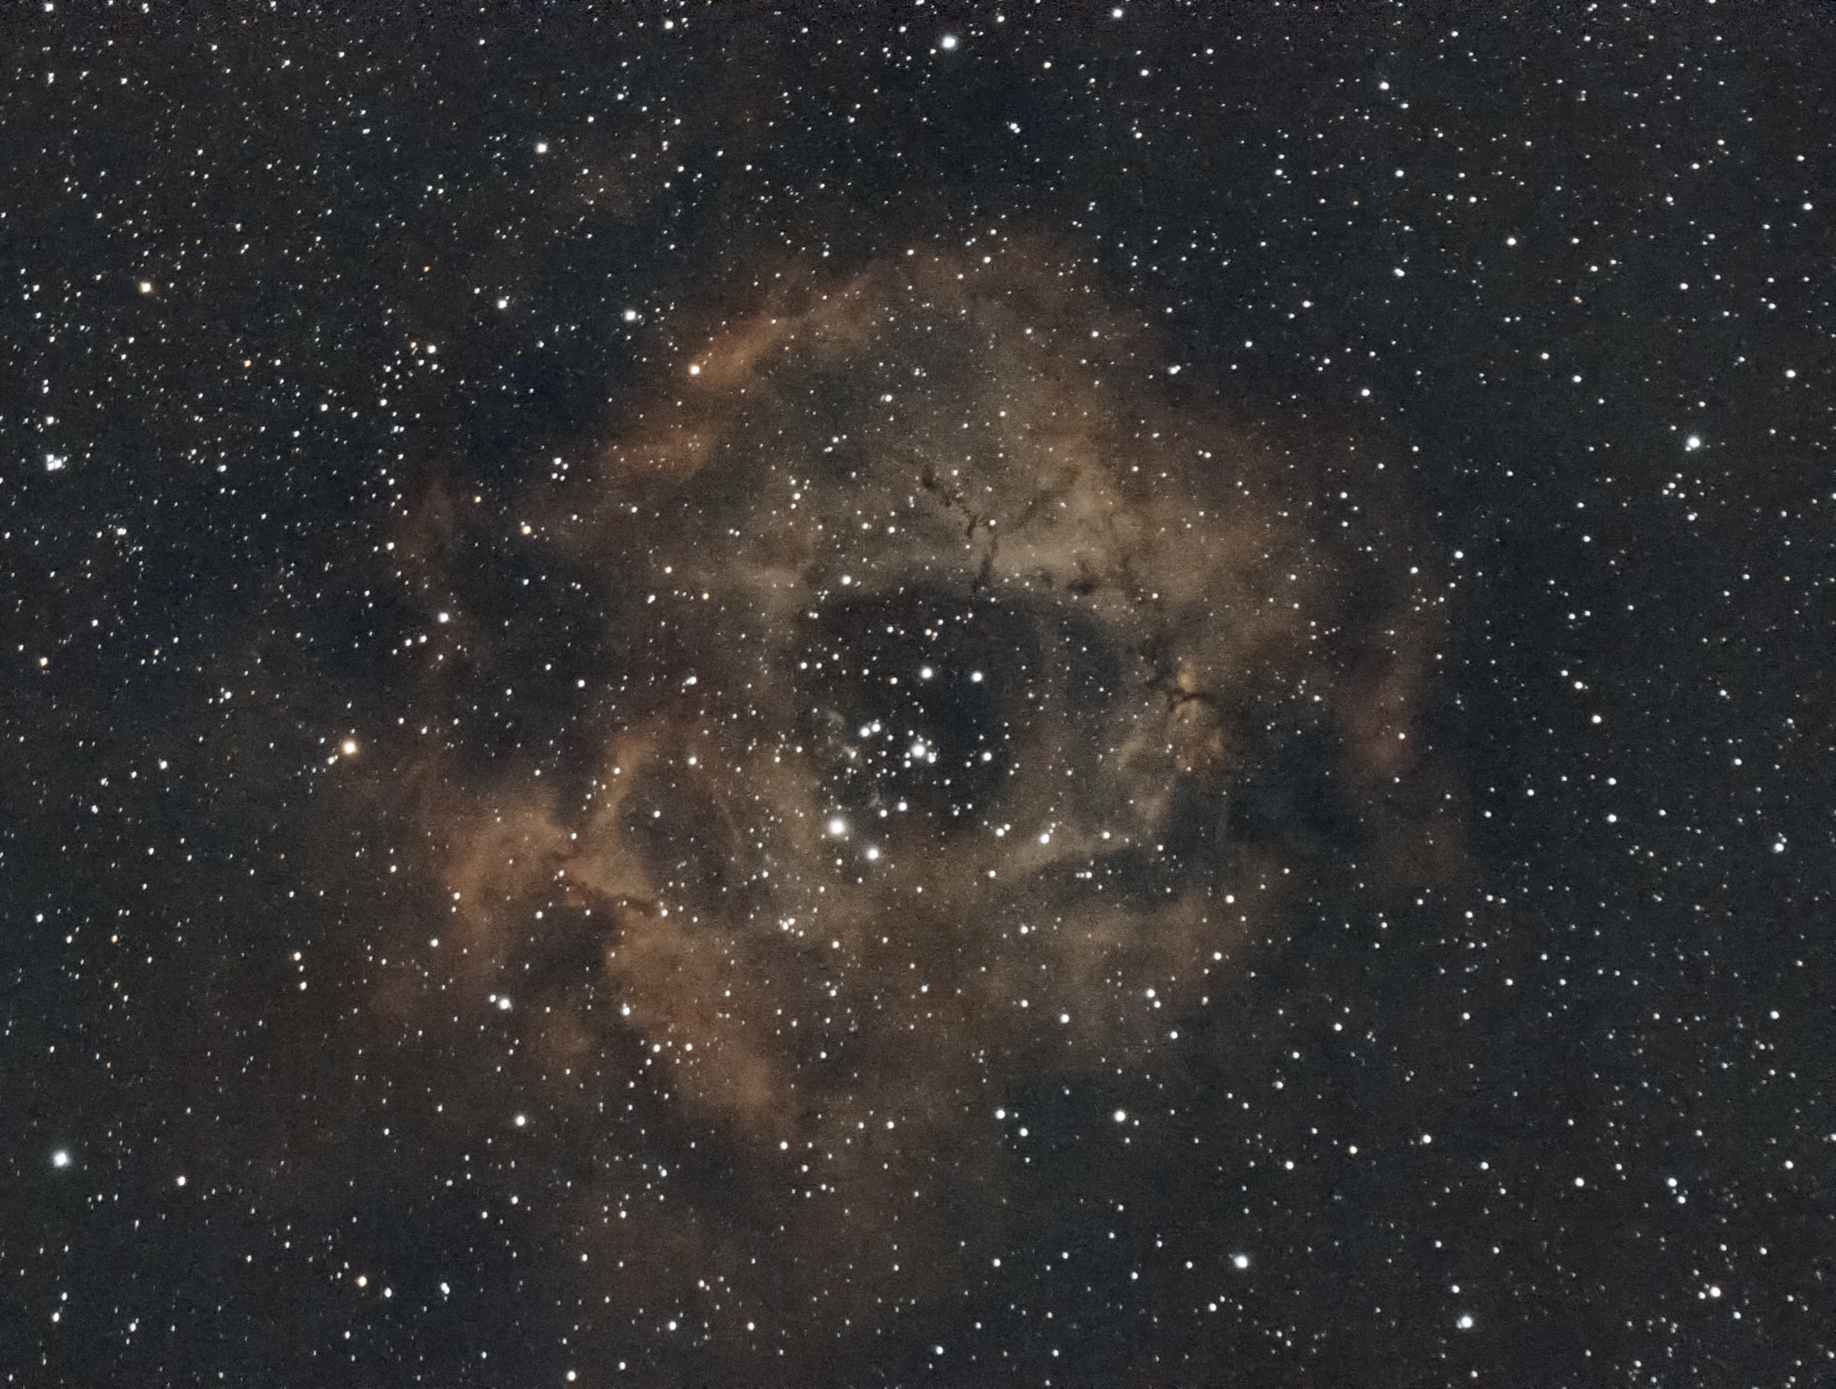
But what should I image first in the nighttime sky? Based on the reviews and advertisements for the scope, the Rosette Nebula in the constellation Monoceros seemed a popular target. It’s getting low in the western sky at this time of year but starts off high enough to get a decent amount of imaging time.
The DWARFLAB control software has a feature they call the “Atlas” that gives you a map of the night sky and lets you choose your targets. I selected NGC 2244, which is the open cluster located within the Rosette Nebula, and told the scope to begin tracking it. After going through its calibration routine, the scope slewed to the target.
I wasn’t sure what exposure settings to use, so I used the default setting in the control software, which was 15 seconds at a gain of 60. I pressed the start button and let it do its thing.
The Dwarf 3 has a live stacking feature, so you can watch the image form in the DRAWFLAB control software as new exposures are taken. At first, the picture was grainy, and the nebula was faint. But after it had gathered about 10 or 15 minutes of data, I was impressed! I let it run for an hour. Below is the result after stacking and processing in Siril and GraXpert, with a little touch-up in Photoshop to smooth it out a little more. Remember, this is from a $600 all-in-one smart scope!
Even though the DWARFLAB software stacks the images and performs noise reduction, better results can be obtained by manually processing the raw data that the system captures. So, all of the images posted here were stacked and processed in Siril with some additional work on a few in GraXpert and Photoshop.
“Well,” I thought, “If the preview image of the Rosette is that good, then let’s give it a more difficult challenge.” We’re in Galaxy Season right now, where nighttime Earth at my latitude is pointing out of the plane of the Milky Way into intergalactic space. Messier 101, the Pinwheel Galaxy in Ursa Major, is a target that I’ve struggled with in the past. Well, the Dwarf 3 didn’t even blink:

Overall, a very successful first light experience!
I should point out that the first nighttime images were taken on April 7, less than a week away from the full moon. The light pollution and dual-band filters did an excellent job of cutting through the skyglow. The images below are in chronological order, so the Moon was getting brighter as I went.
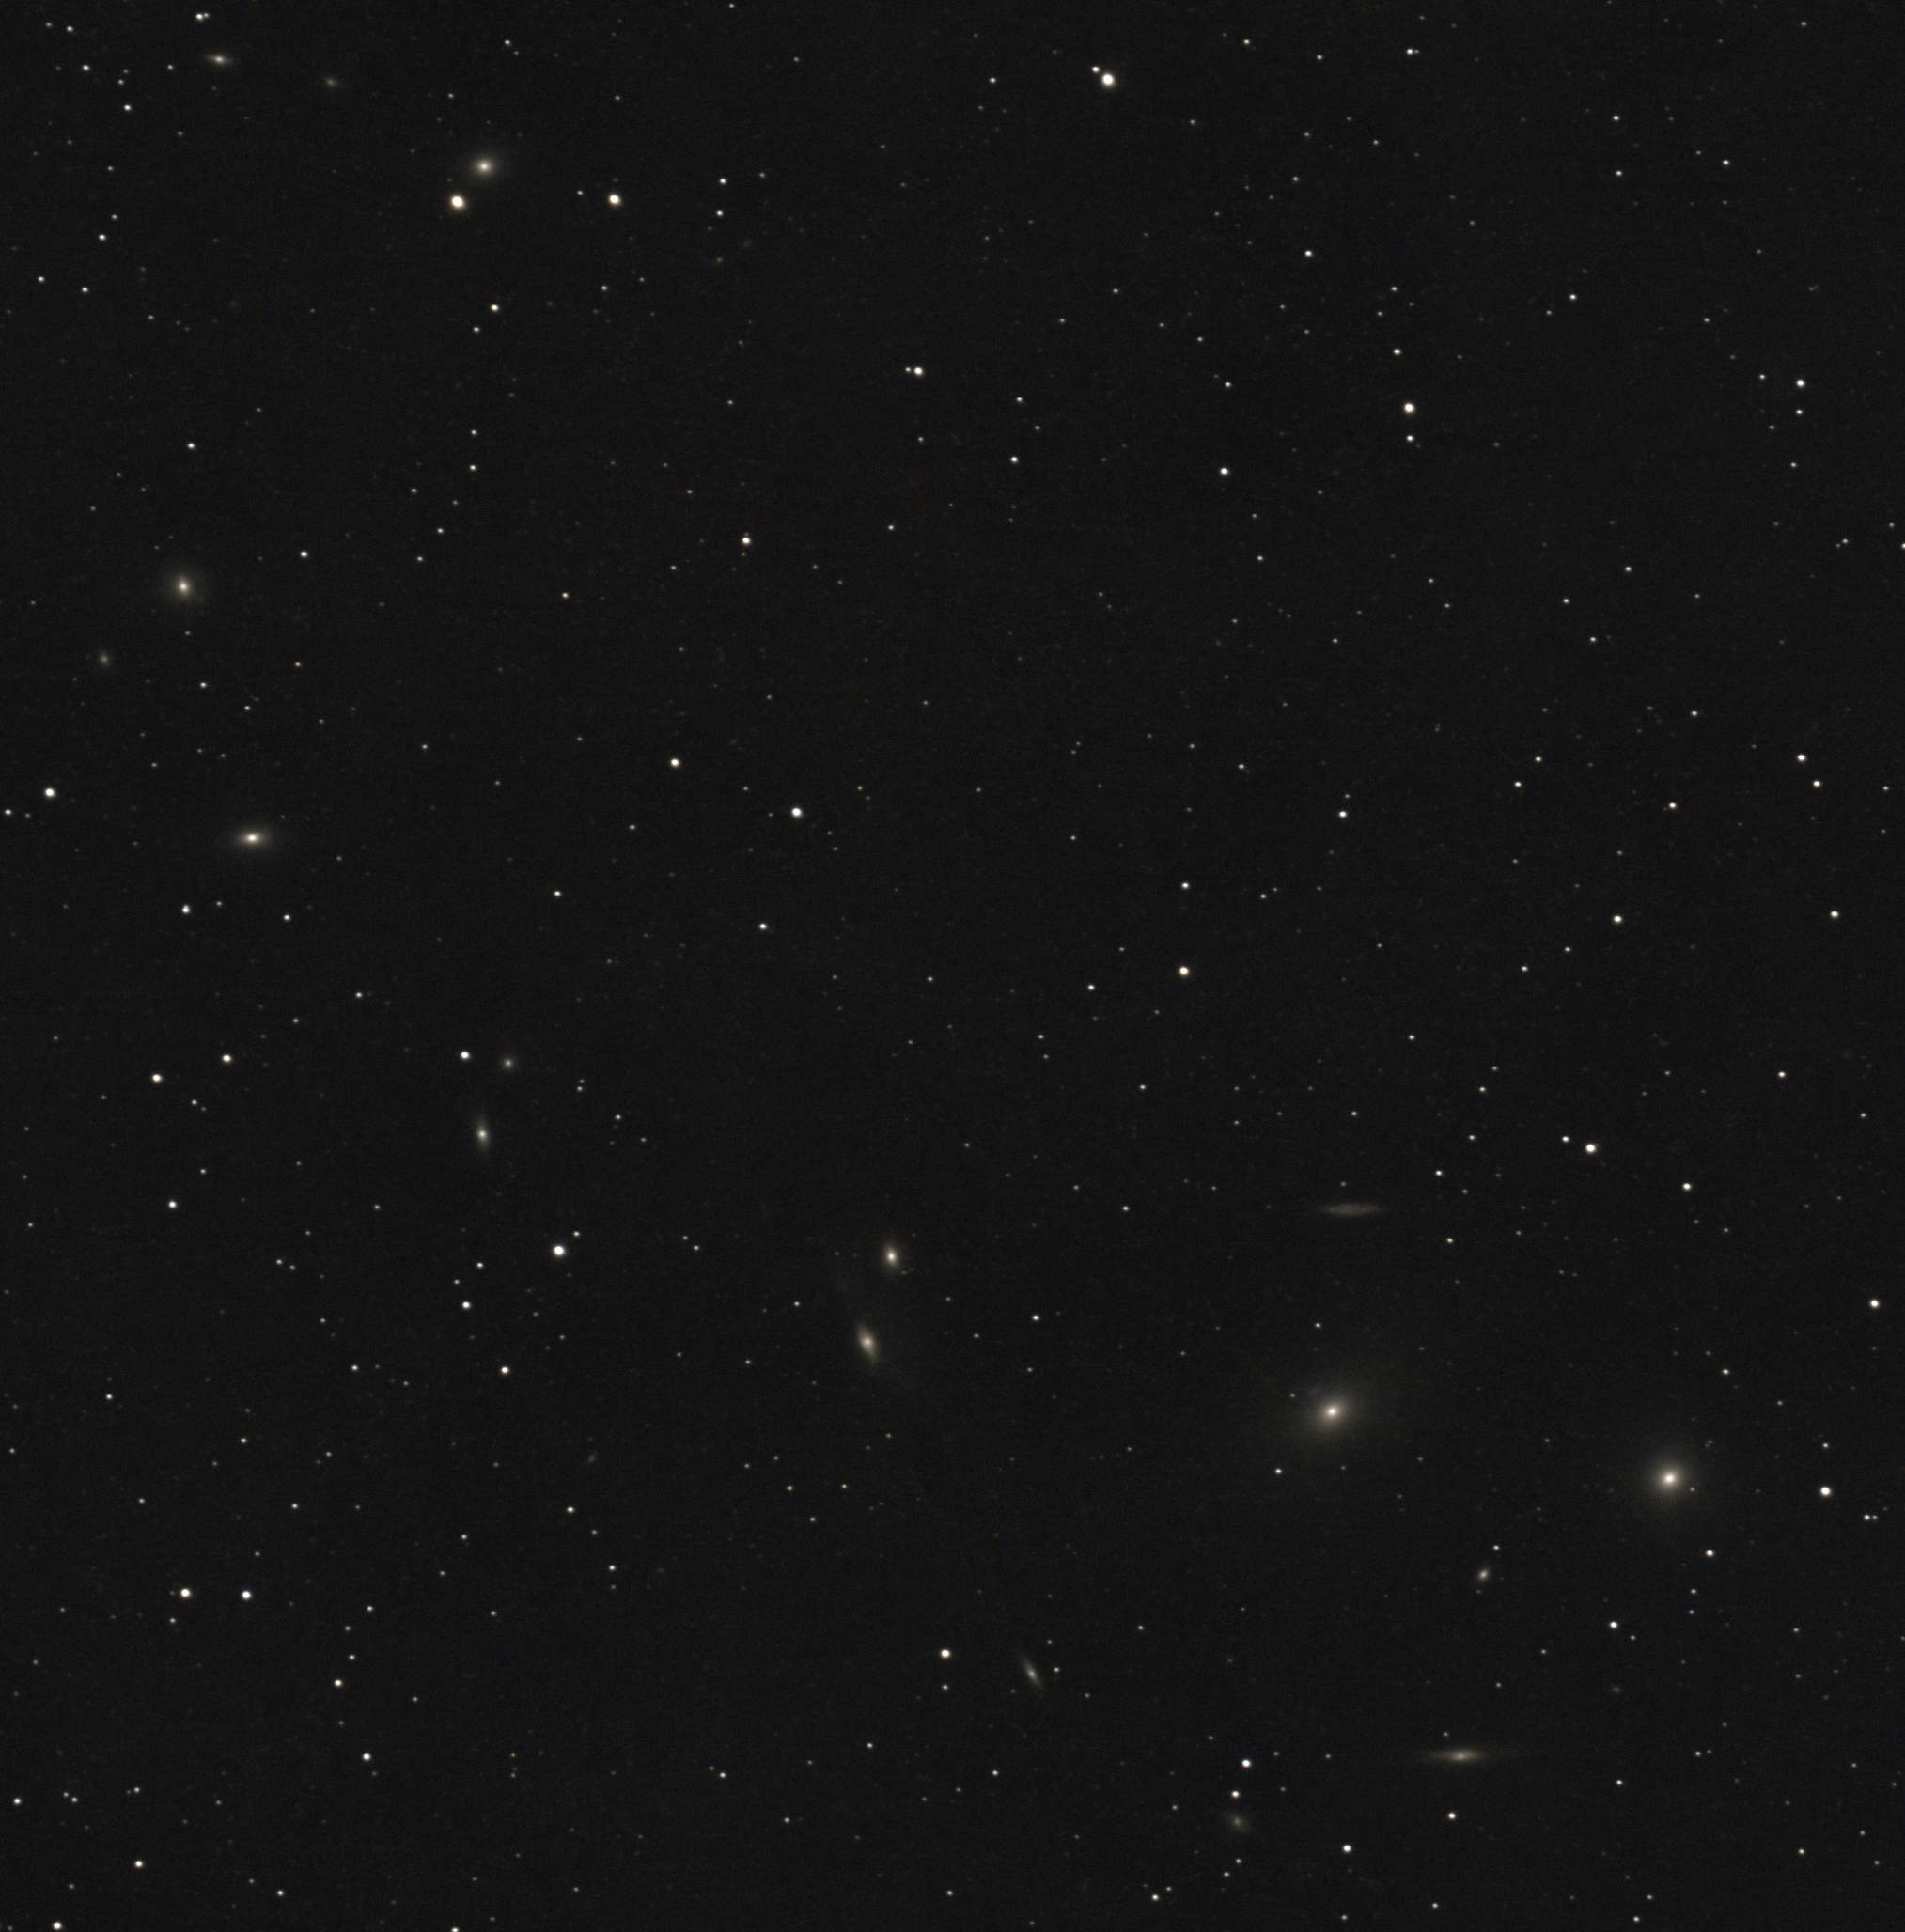
Since the Dwarf 3 did so well with M101, the next night I wanted to see how it would perform on galaxies with a smaller apparent size, such as those in Markarian’s Chain. The Moon was on the other side of the constellation Leo, so this would also be sort of a test of the light pollution filter to see how well it picked up these faint galaxies in the nearby Virgo Cluster. I think it did pretty well.
Also, I tested out an exposure time of 60 seconds with a gain of 60.
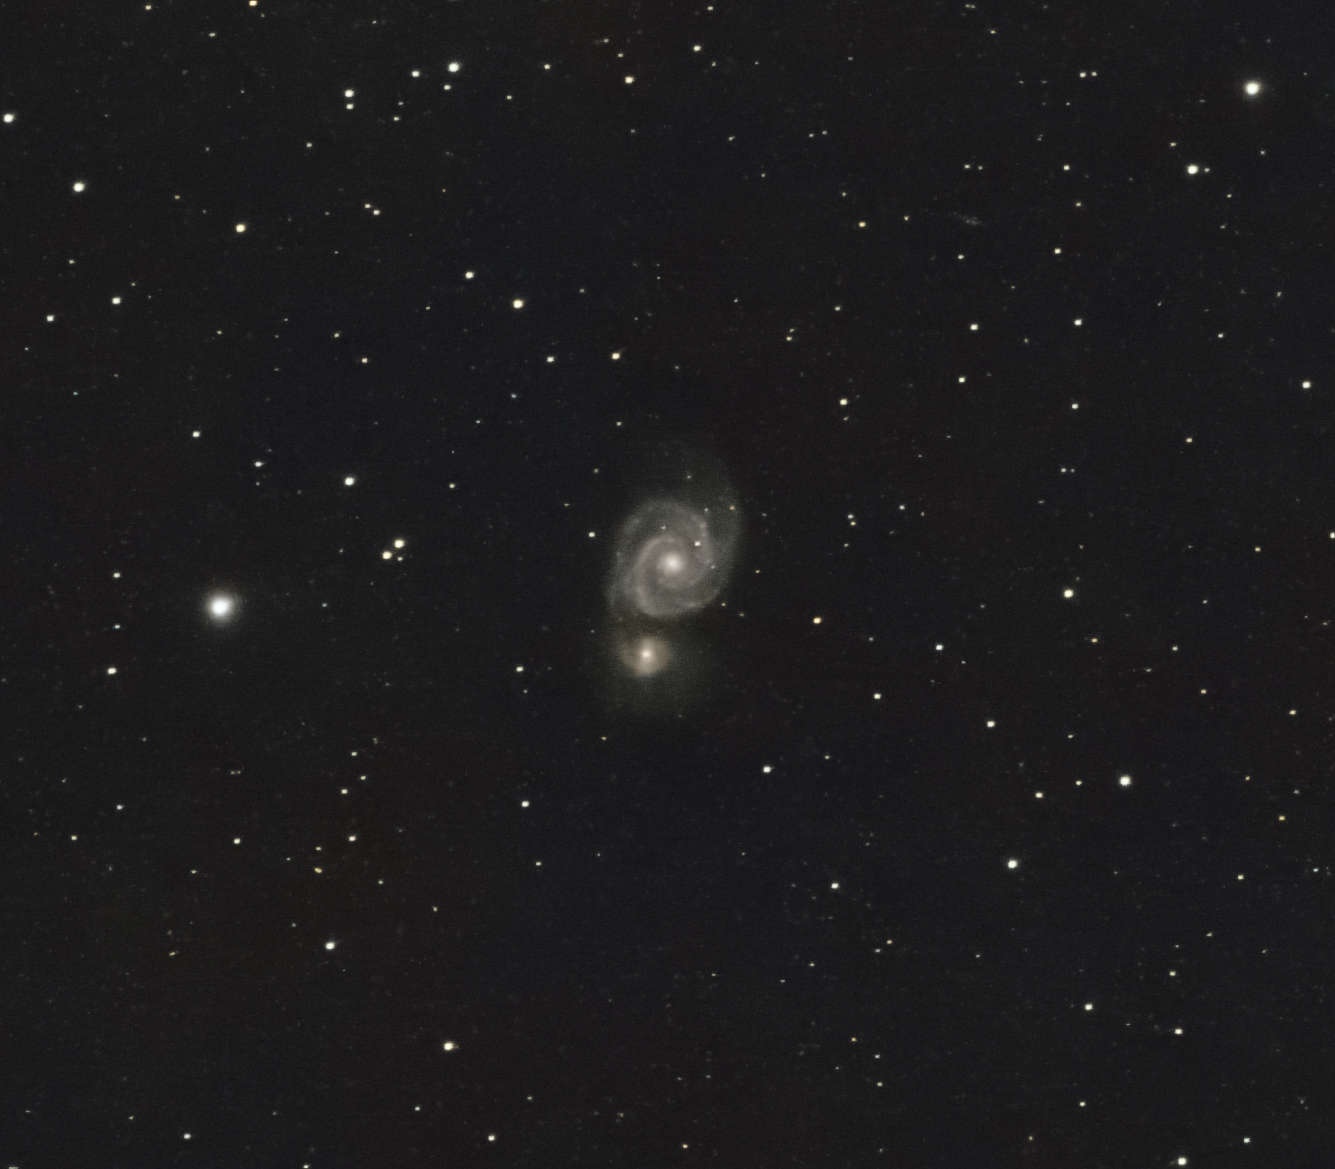
Messier 51, the Whirlpool Galaxy, is another interesting target. Although I think I have gotten better images in the past, I’m still pleased with how well the scope performed in the bright, moonlit sky.
Now that I had tested the scope on some galaxies and a nebula, the following night I pointed it at an open star cluster. Well, in fact several at once. Messier 46, Messier 47, NGC 2423, and NGC 2425 make a nice quadruplet within a small area of the sky. And the extra special bonus is a pretty little planetary nebula located between us and Messier 46. The wide angle of the telephoto lens of the Dwarf 3 easily captured all of these objects with room to spare. This image was created using 27 images with an exposure time of 60 seconds and a gain of 30.

I noticed, though, that the scope had some trouble tracking M46/M47. The auto-stacking feature was rejecting about half of the images due to star trailing. I moved the scope to the Horsehead Nebula for a short time (which I didn’t keep), then back to this one. The tracking did not improve. I’m not certain why this was happening. After an hour or so I gave up and moved on to Bode’s Galaxy.
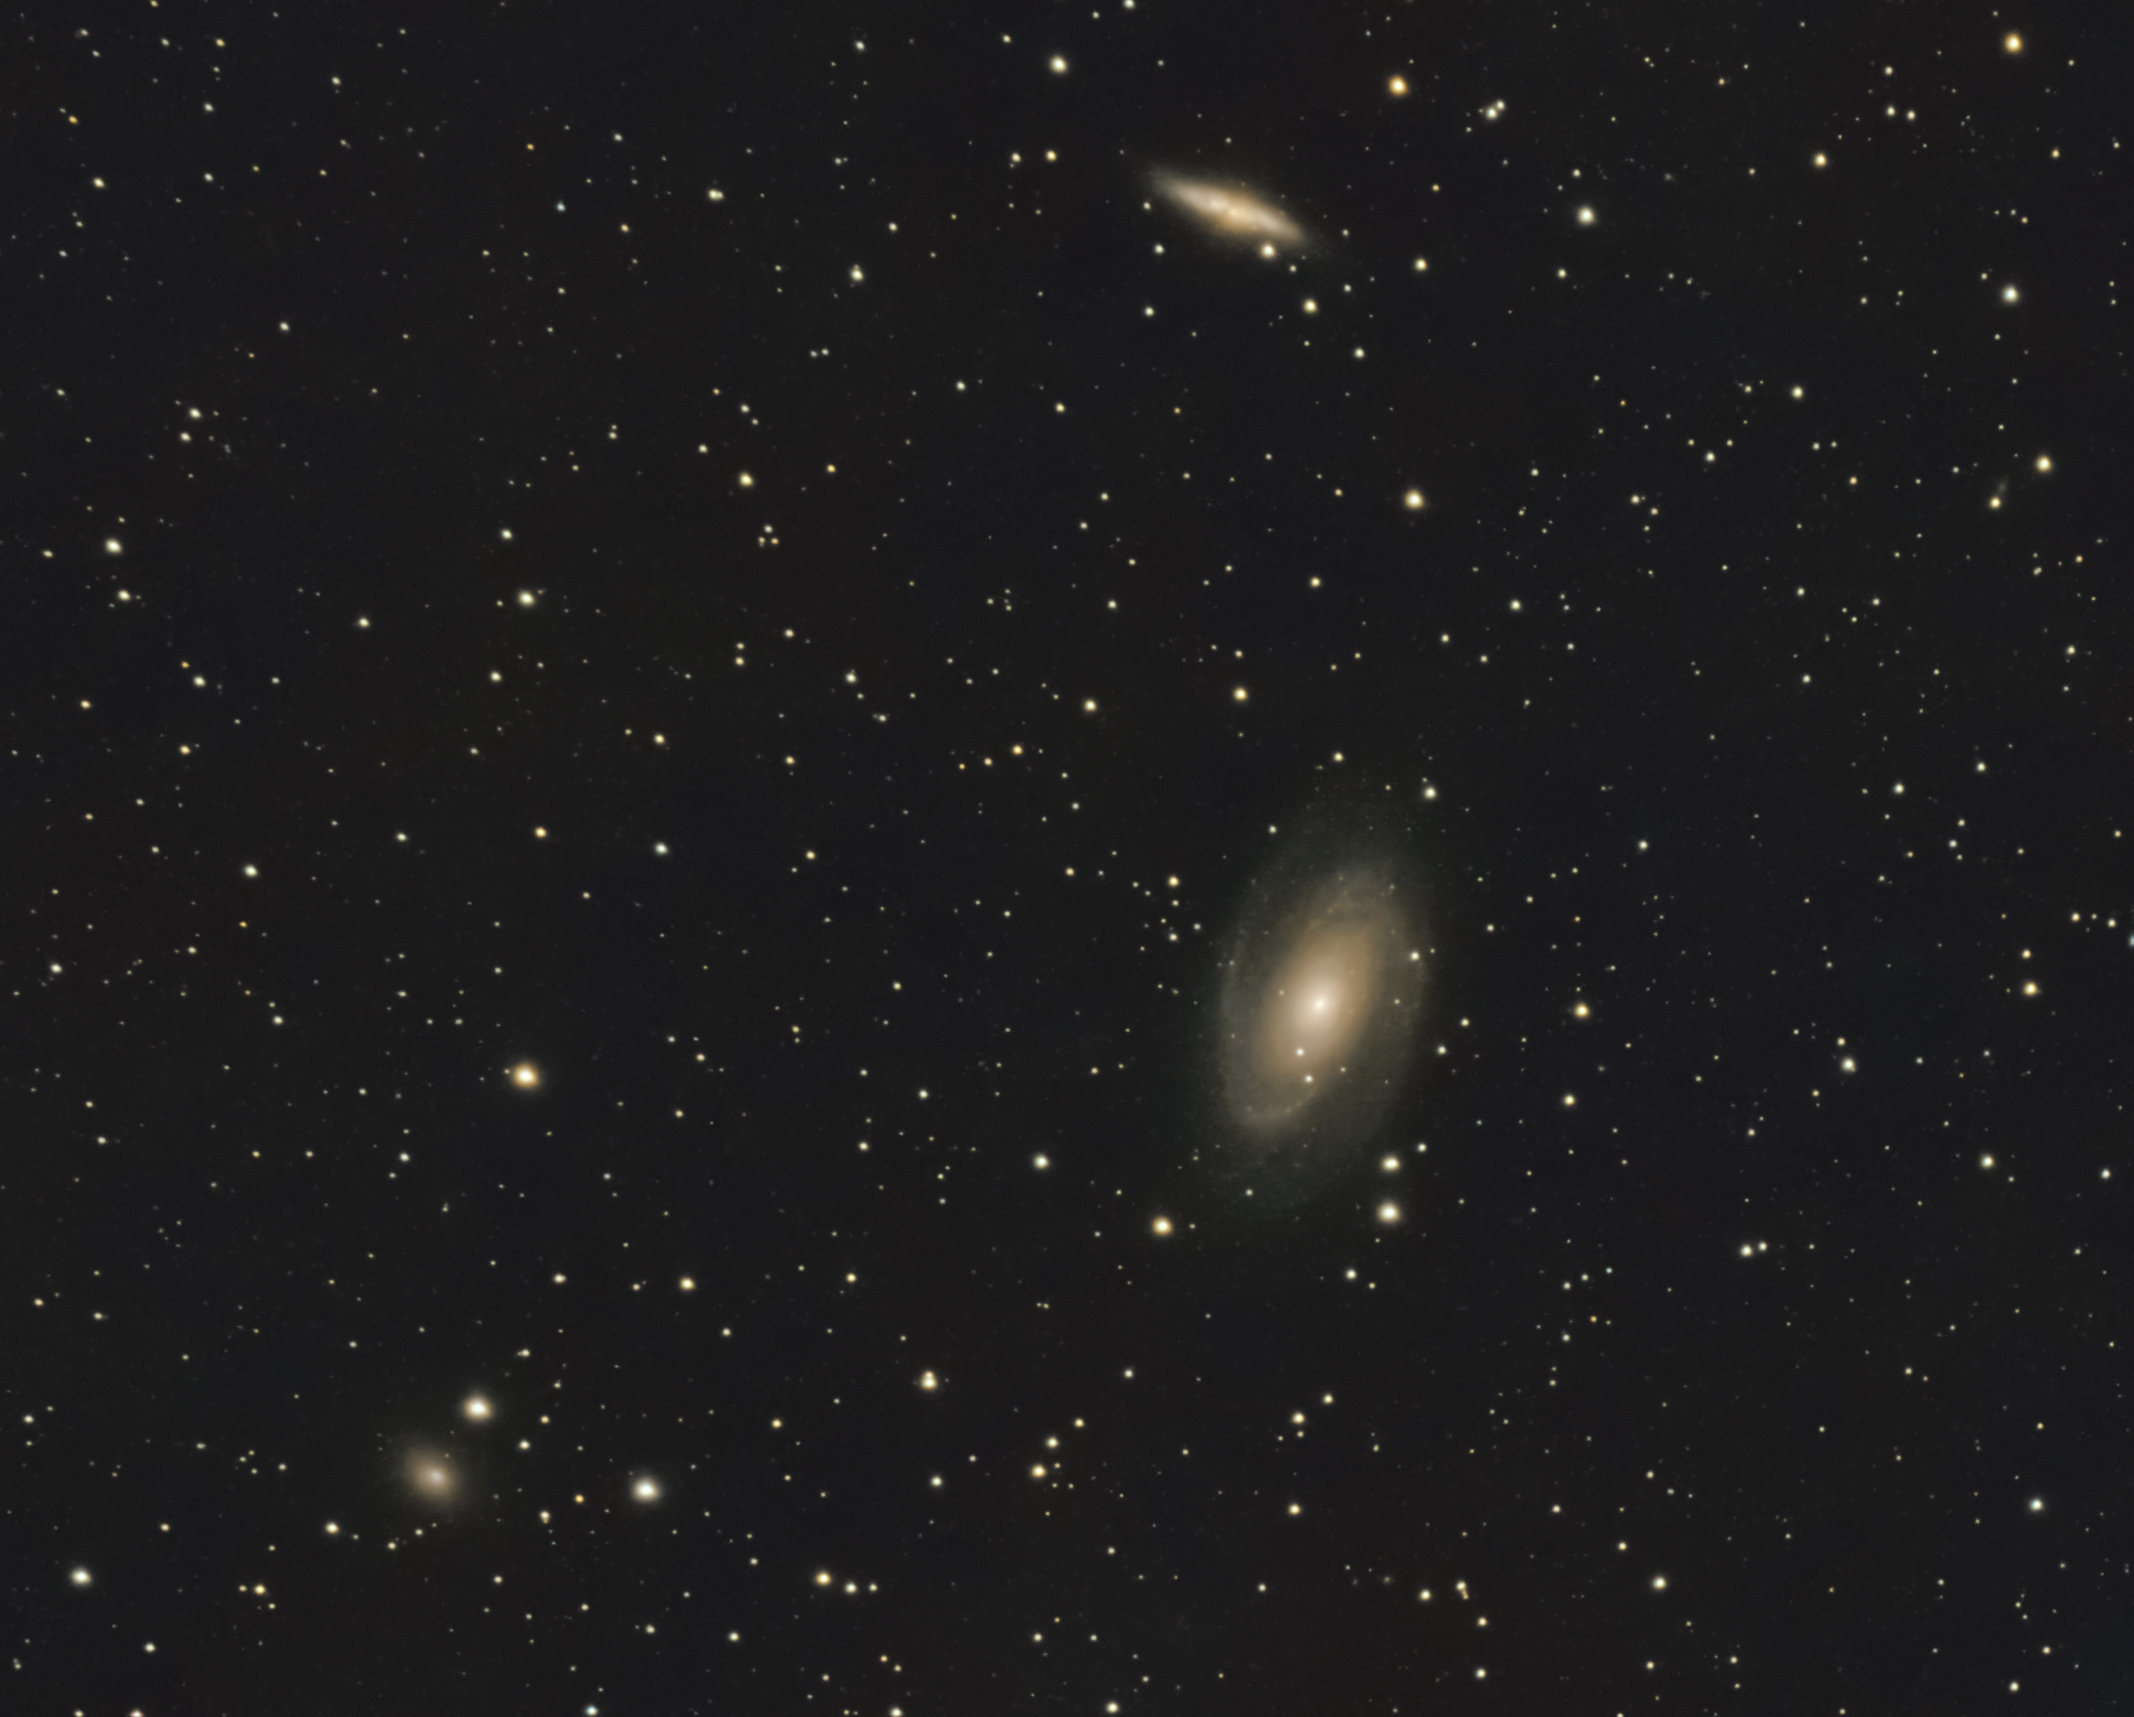
Messier 81, Bode’s Galaxy, is another target that has been difficult for me to image. But not this time! The tracking was perfect, and I was able to collect almost two hours of 60-second exposures at a gain of 60.
The next night I decided to try something more ambitious: Messier 106. I have never gotten a satisfactory image of M106 before. It is a difficult target due to its low surface brightness over much of its diameter and high dynamic range. I took over 2.5 hours of 60-second exposures at a gain of 30 and once again, the Dwarf 3 surprised me:
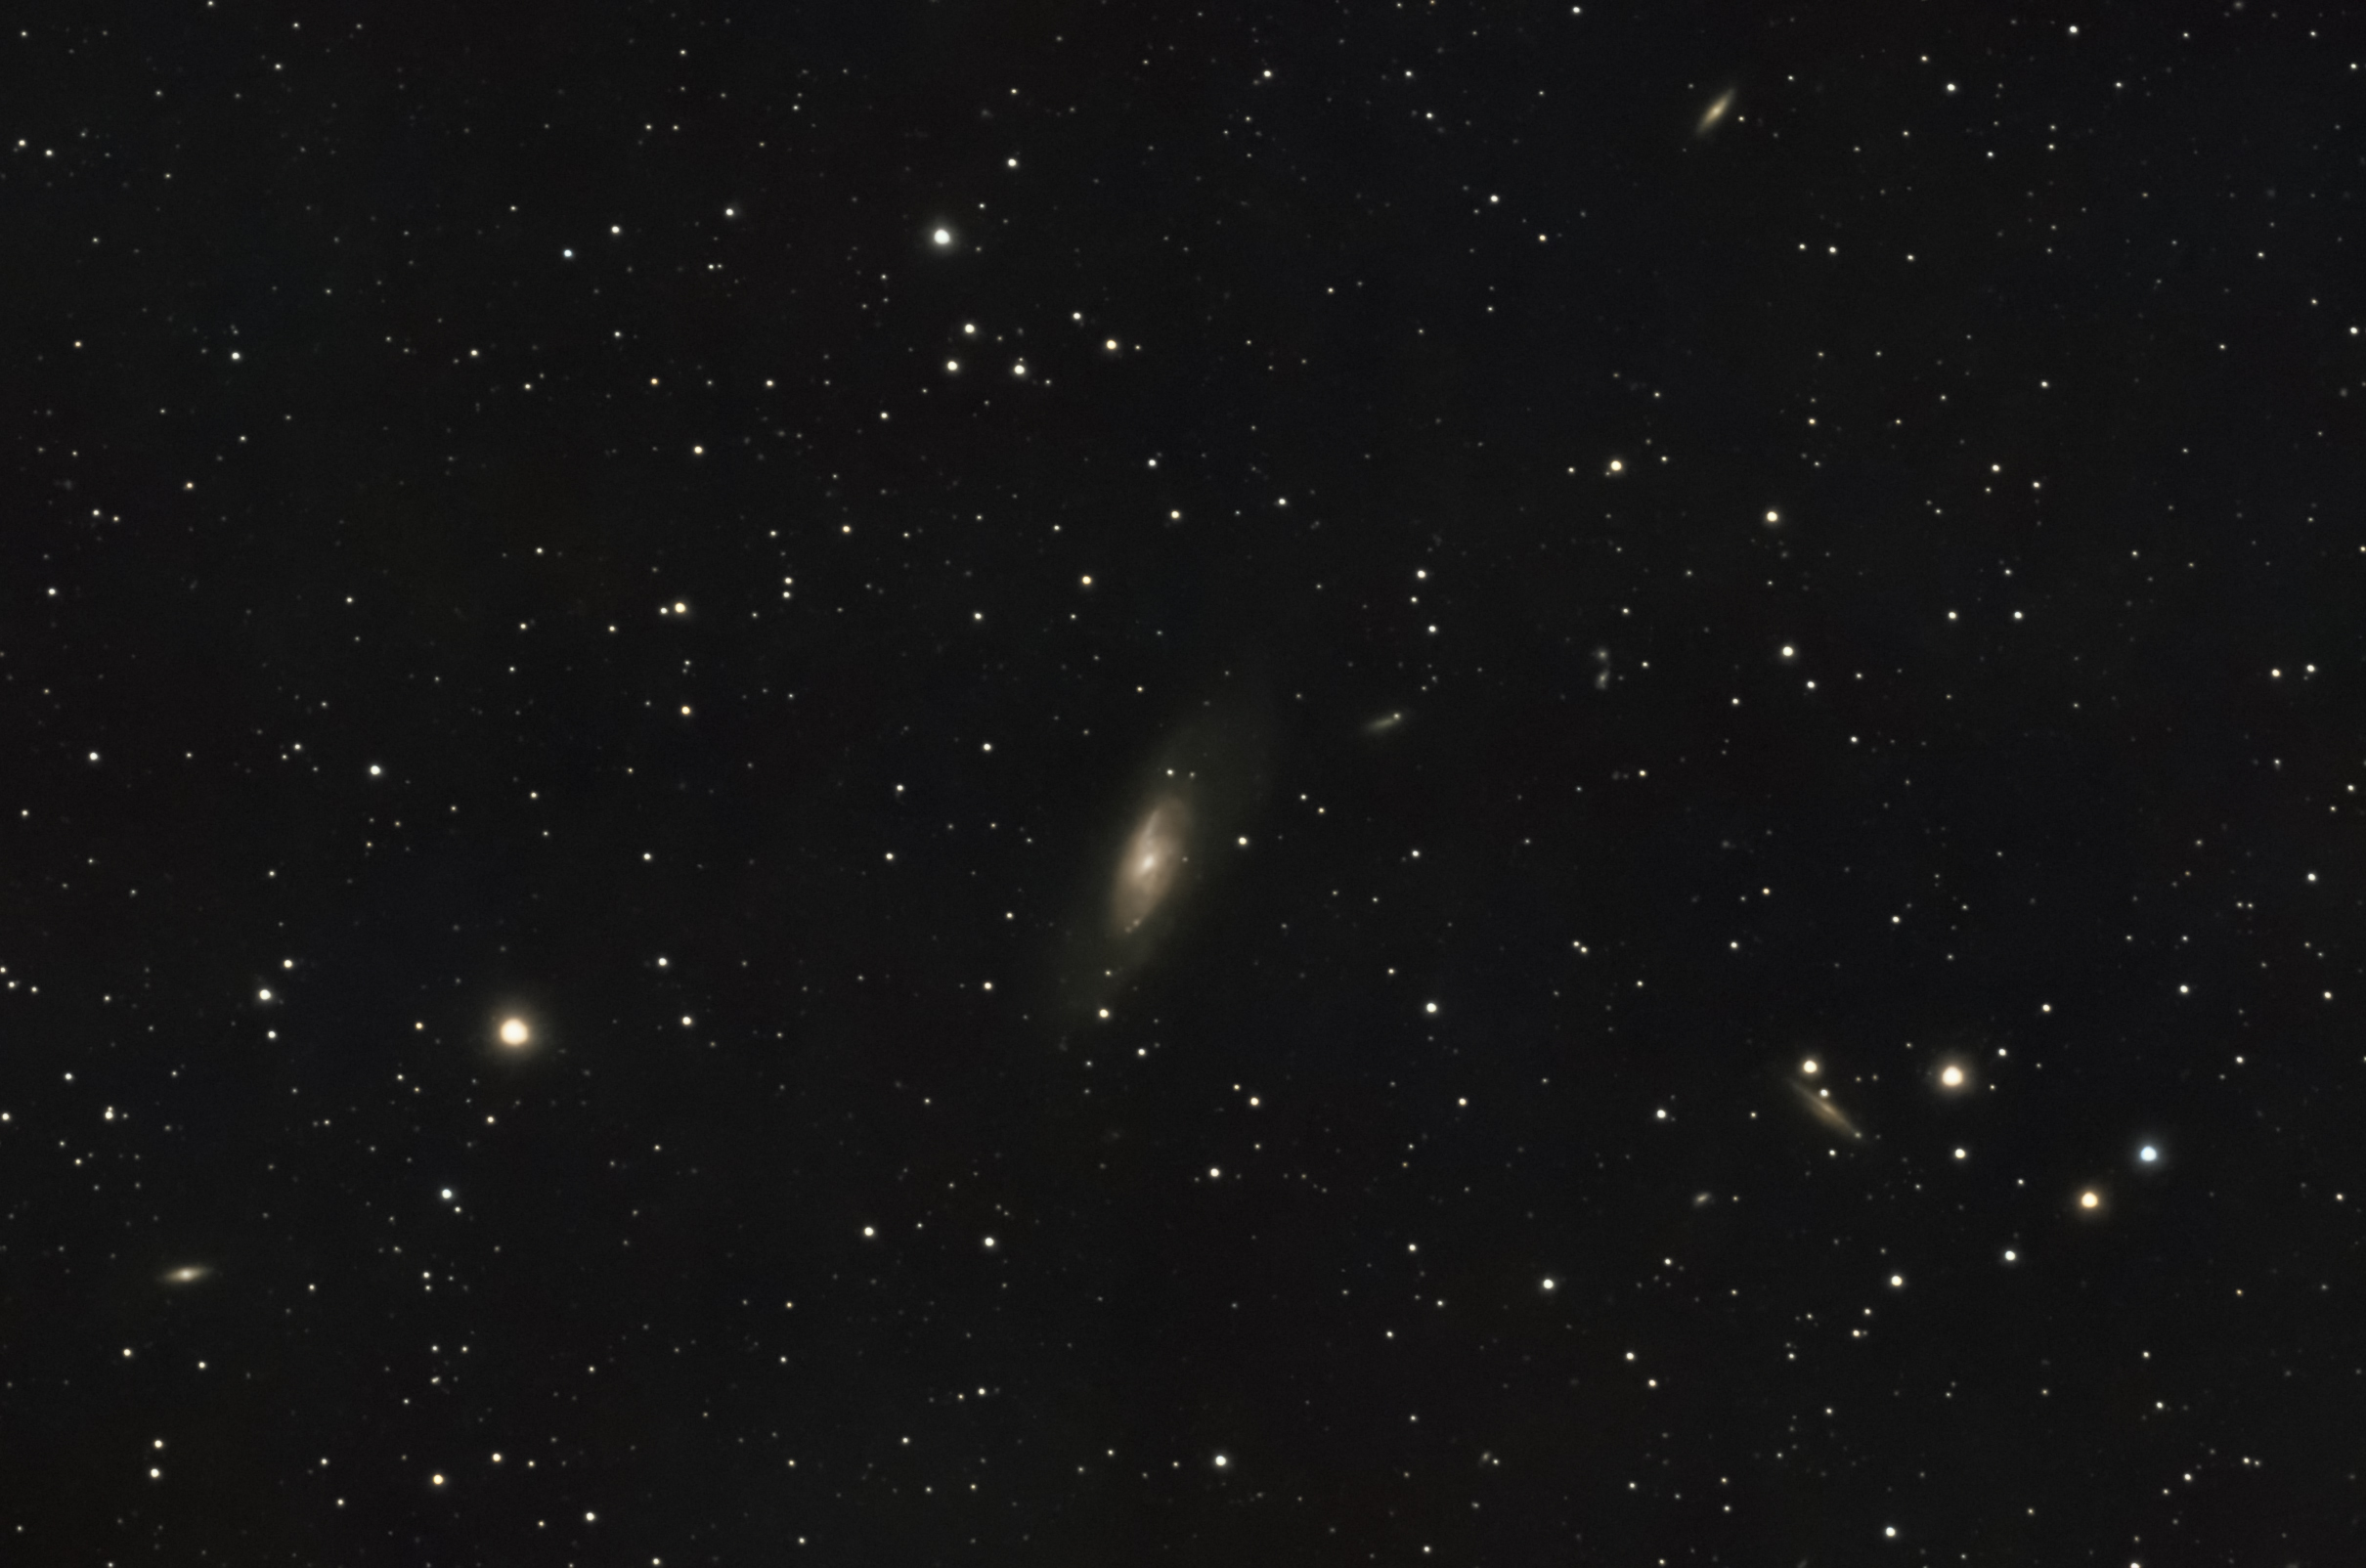
I’m really impressed that a $600 scope the size of a book can do this.
The weather on Sunday night was good, except for some wind. I wanted to try a more challenging nebula, so I pointed the scope at the Christmas Tree cluster/Cone Nebula region. I was able to capture 65 good 60-second exposures at a gain of 30. If none of the other images had convinced me that the Dwarf 3 was a great little imaging platform, then this one would have proved it:

The DWARFLAB control software selects the appropriate filter for the target. However, this time it chose the VIS (light pollution) filter. I manually switched it to the duo-band filter, which allowed the Hydrogen-alpha emissions to stand out from the background.
As I mentioned earlier, the scope can act as its own wi-fi hotspot. The range is rather small, even less than that of a Bluetooth connection, but I suppose that the extra bandwidth that wi-fi affords is necessary for the control software. The good news is that once the scope is set to a task, it does not require the DWARFLAB software on the phone/tablet to “babysit” it. So, if you lose connection in the middle of an imaging session, then there is no need to worry. Once you are back in range you can reconnect, and the control software acts as if nothing happened.
But if both the scope and your control device are within range of a better wi-fi hotspot, then you have the option of using that network to connect to and control the scope. Chris, a friend of mine, found the instructions for setting up the connection. That enabled me to control the scope from anywhere within range of my wi-fi router. I was able to lie in bed and control the imaging sessions!
So, now I have little excuse to not take advantage of a clear night to do imaging. Even a bright, moonlit night is a viable option.
I want to go back and reshoot the above targets when it is darker and, preferably, at a darker location. I’m also looking forward to the summer constellations when the center of the Milky Way is in full view throughout the night. In the meantime, I will probably keep imaging galaxies, and a few globular clusters are coming into view, too.
But what about my other rig?
I’ve not given up on it. I hope to upgrade the camera and some other components before long. It’s a great scope and mount and has capabilities above that of the Dwarf 3.
But the Dwarf 3 is just too easy to use and is so portable that I can take it anywhere. Even light-polluted cities are potential imaging locations!
1 comment